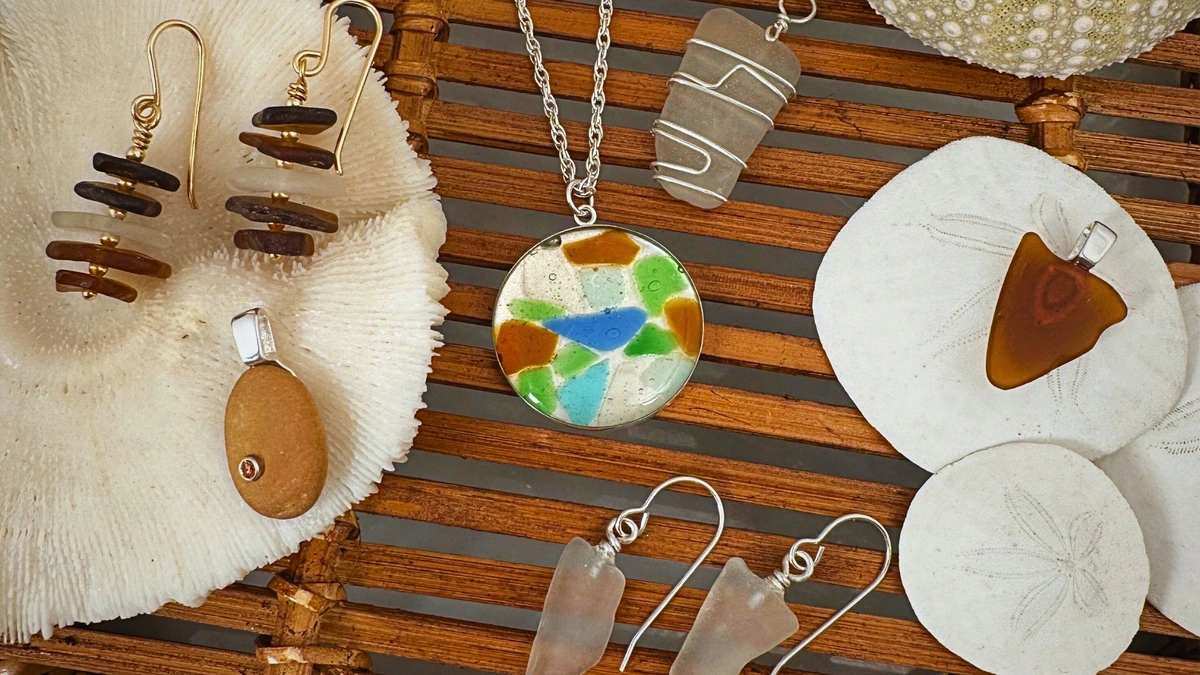
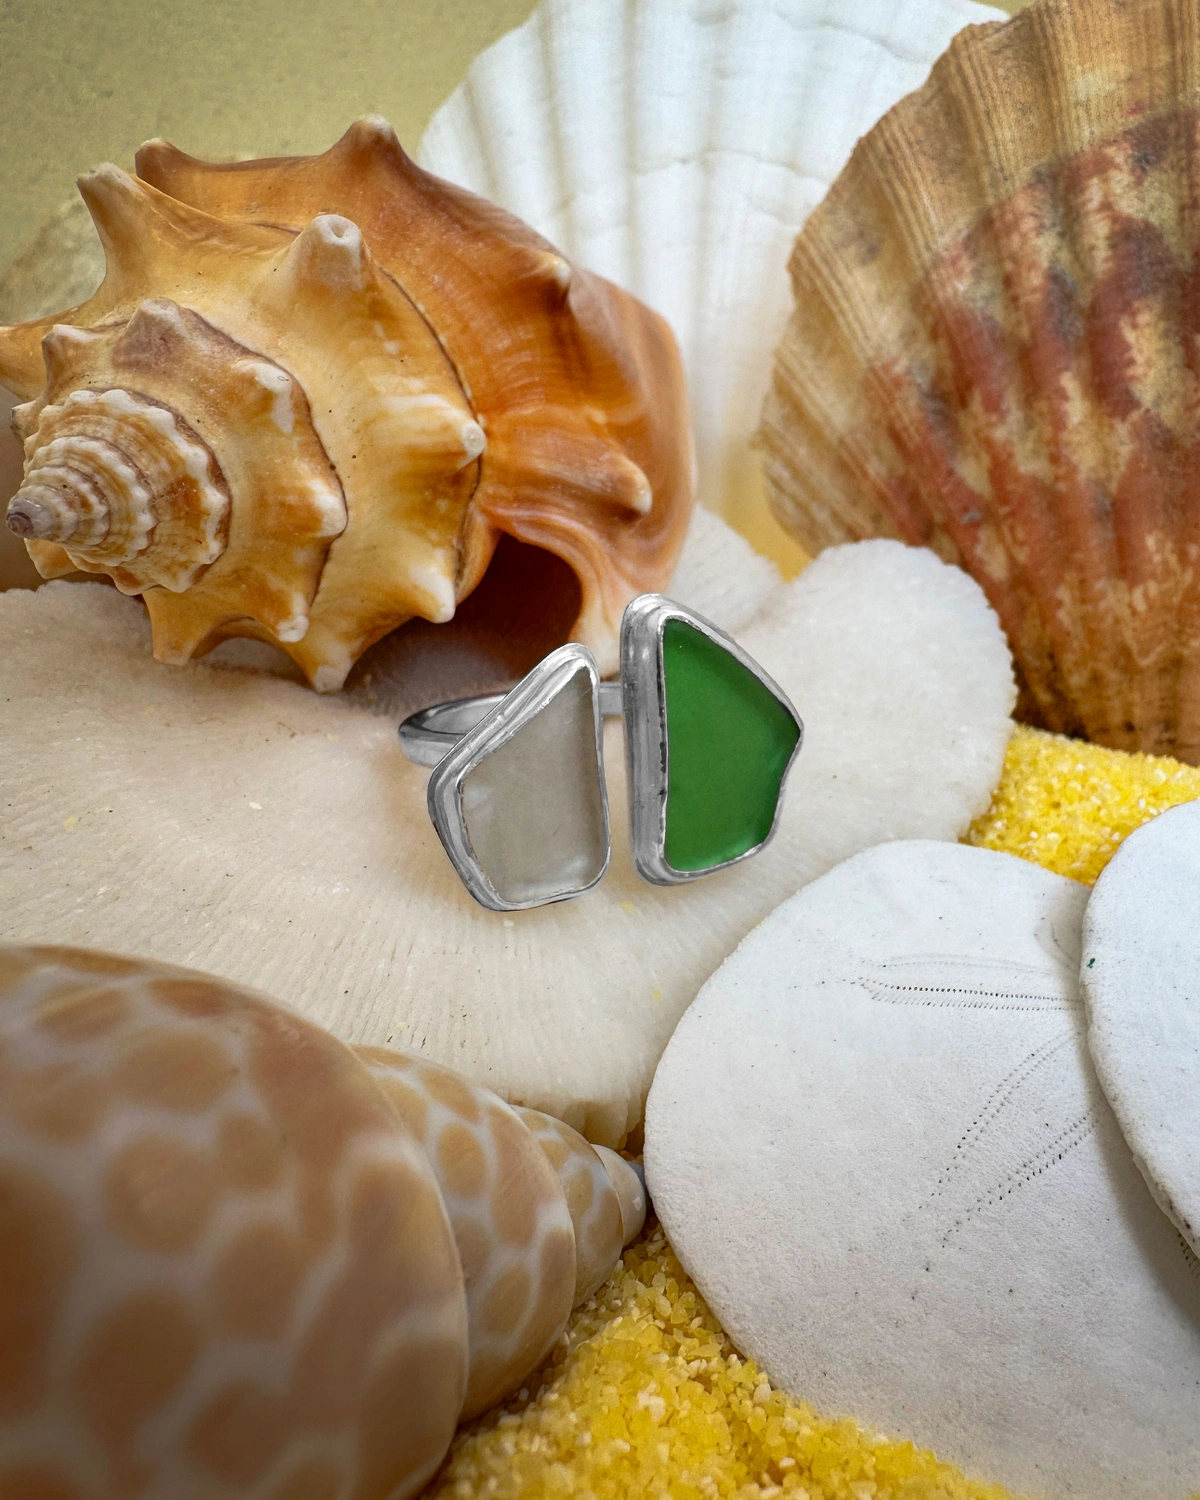
We know you’ve got a few collections hiding around the studio… We’ll teach you how to turn your sea glass, rocks, and more into wearable jewelry. Keep reading for wire wrapping, drilling, and setting techniques for all skill levels.
As jewelers and creatives, we tend to collect things. But what do you do with your boxes and jars full of scavenged treasures? Turn them into jewelry! In this blog we’ll cover different techniques to turn things like sea glass and smooth river rocks into jewelry. Don’t limit yourself though, you can apply these techniques to all kinds of found objects! We will cover inspirational ideas for wire wrapping, drilling, and more so you can turn your treasures into wearable jewelry. We have ideas for those of all skill levels, from beginner to more advanced.
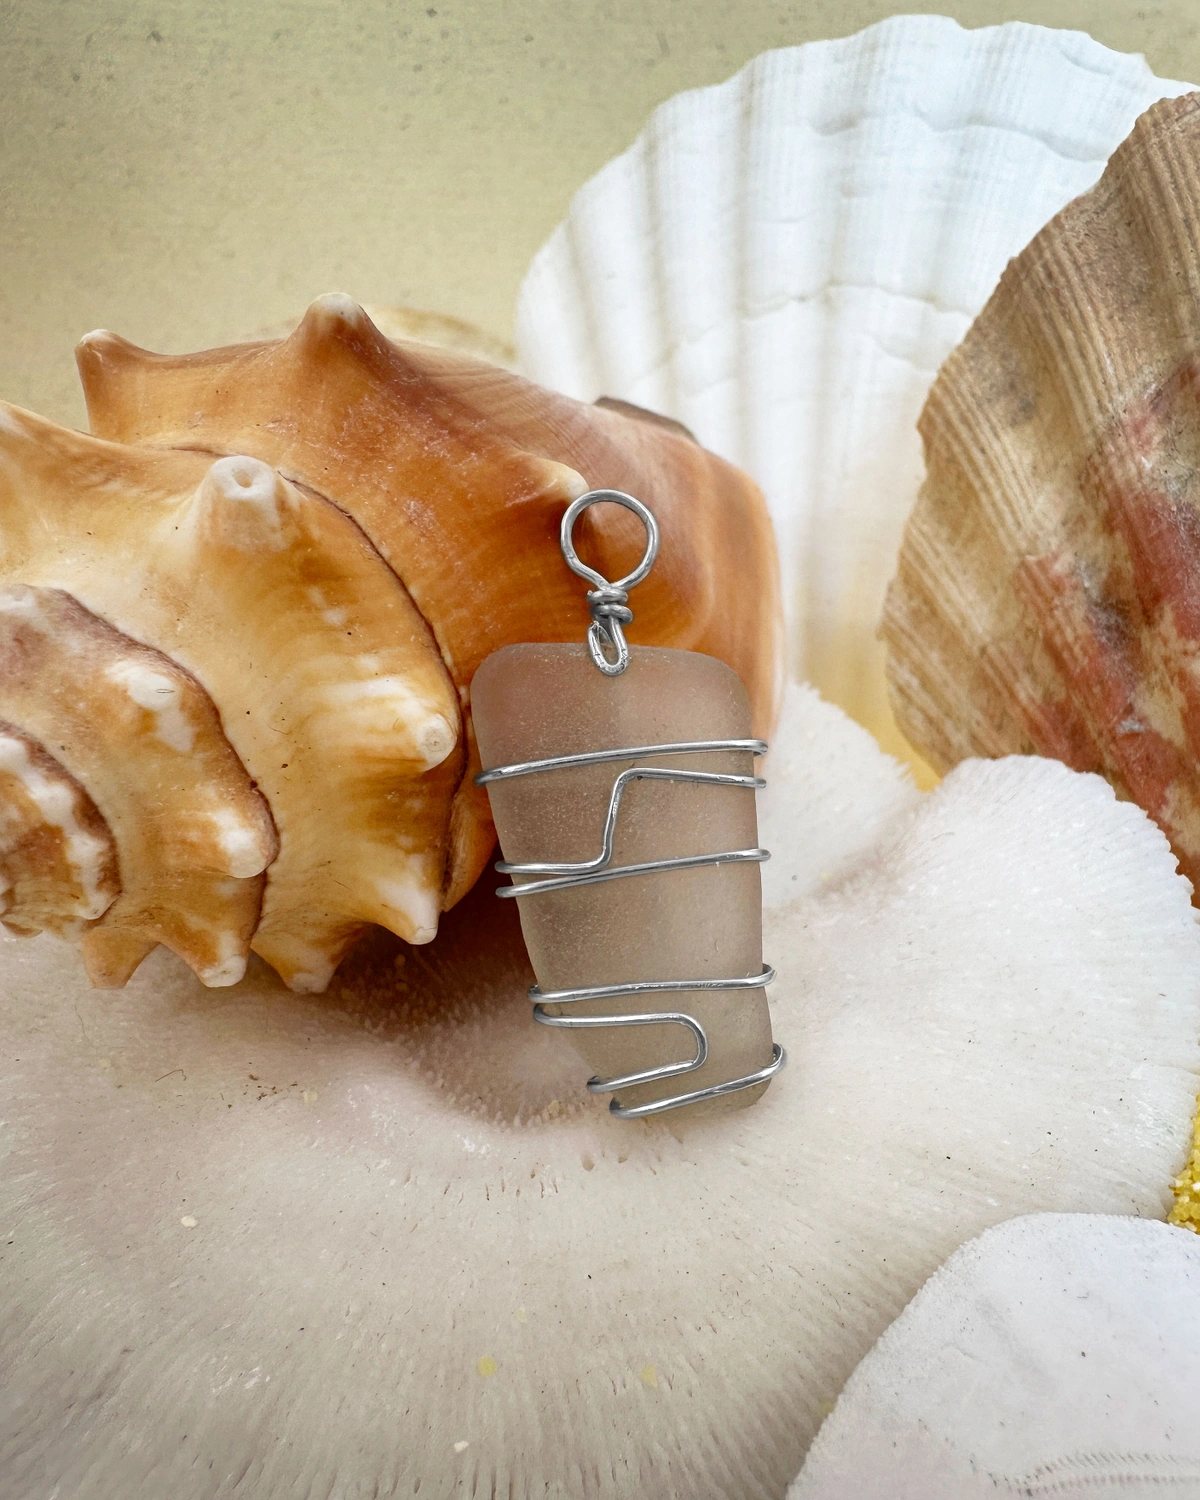
Wire Wrapping Sea Glass
Wire wrapping is a great technique if you don’t have a full jewelry studio set up. There is no heat or soldering involved, and minimal jewelry tools are needed to get started. Wire wrapping is also excellent for irregular shaped objects. You can bend and wrap silver wire around them however you like! There are no rules! To finish, create a wire wrapped loop for connection to your jewelry chain or findings with jump rings. Wire wrapping allows for a lot of creativity with minimal start up costs.
Check out our blog, How to Make Wire Wrapped Jewelry, for more information and what tools you’ll need. The beading tool kit comes with all of the basic wire wrapping pliers necessary to get started! We also have YouTube videos on how to execute 4 basic wire wrapping techniques, and many more!
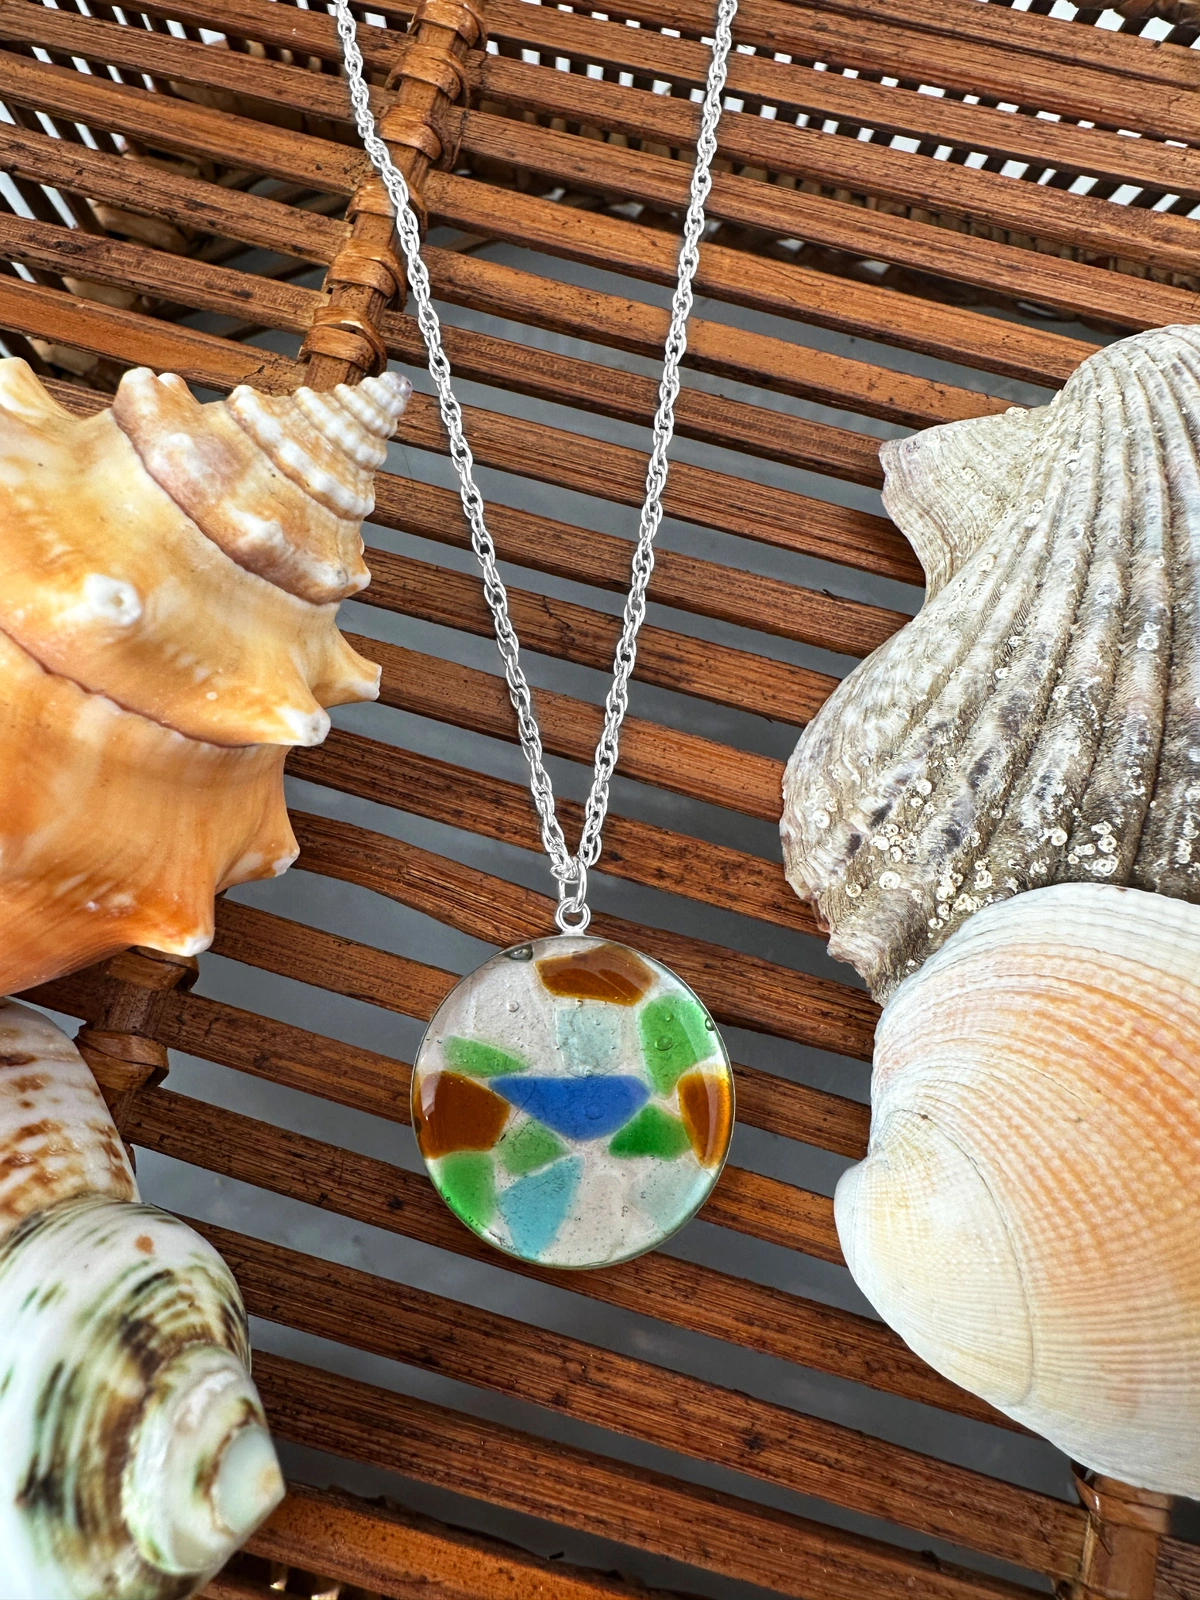
Sea Glass Mosaic Resin Jewelry
Resin is another great way to utilize your sea glass and found objects, especially the tiny pieces! I created this mosaic pendant with a pre-made bezel blank, sea glass, and resin – that’s it! Have fun collaging your items into bezel settings, cover with resin, and add a silver chain. It’s a great beginner technique.
Mounting Sea Glass Jewelry With Glue Bails
Glue bails are a tried-and-true method for working with sea glass, rocks, and other found objects that you don’t want to put any heat near! You’ll want to rough up your bail and object a little bit where the glue will be. This makes sure the glue has the best gripping surface. Some sandpaper or a file will work well. You’ll want to use a high quality jewelry adhesive. Check out the video below for how to add a glue bail. It is super easy!
How to Drill Sea Glass for Jewelry Making
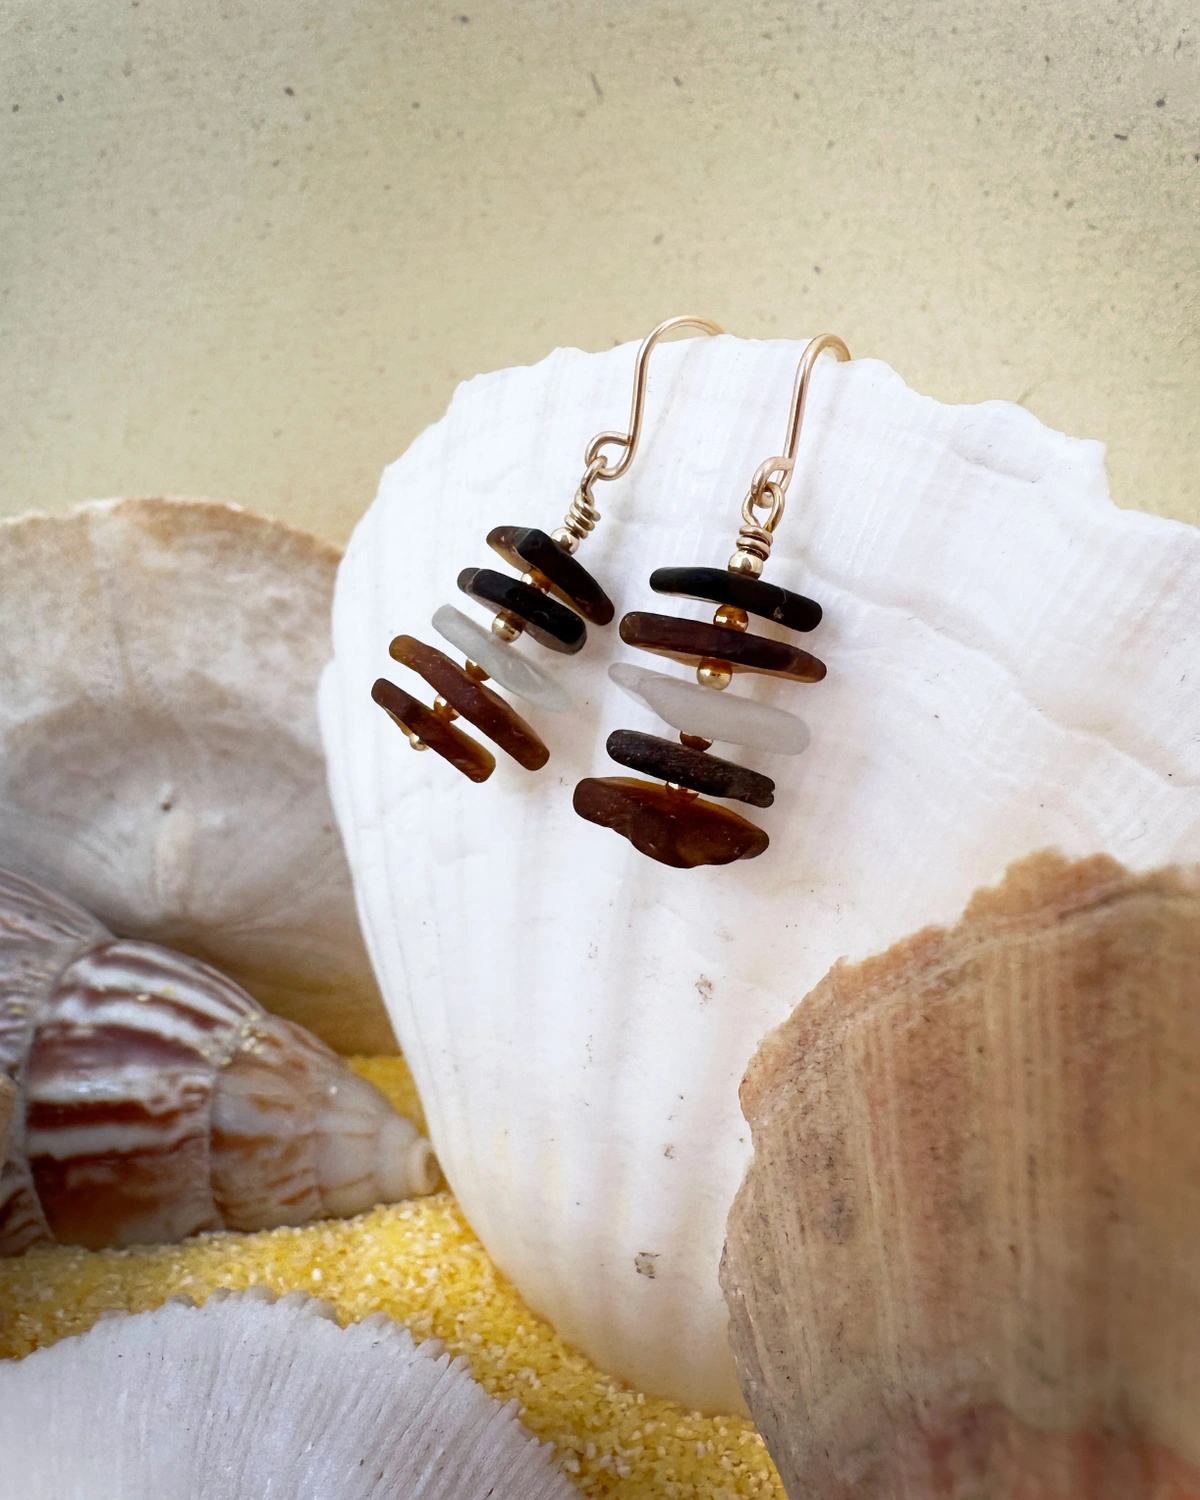
Drilling objects is a great technique that doesn’t require a torch, but does require some specialized tools. When working with glass and rocks especially, it is very easy to crack them. You will want to make sure to use diamond coated tools, like diamond drill bits and round diamond burs. Tiny crushed up diamonds on the surface of the tools are what do the cutting, making it more gentle and less likely to fracture or flake at the edge of the hole. Diamond coated tools are effective and long-lasting. Always use these tools with water for lubrication. I keep a dish of water that I frequently dip the rock or glass and my drill or bur into. Make sure to keep water away from the mechanical part of your flex shaft or micro motor!
Once you’ve practiced drilling a few times, you can easily create beaded designs, like the earrings below, or super simple earring drops! For the drops, I used the same guiding principles as glue bails.
For stone-on-stone designs, you’ll need to be familiar with tube setting techniques first. If you need instruction or a refresher, check out the video below!
Bezel or Prong Setting Sea Glass Jewelry
For those with a bit more experience and more tools, bezel setting will open up a world of possibilities! You will need to have the appropriate tools and space for soldering to utilize these techniques for custom setting your sea glass or stones with bezel wire. You’ll use the same process to set your glass as you would a cabochon. One thing to keep in mind, however, is that your sea glass or stone may not be the same thickness everywhere. Make sure to file down your bezel to match the thickness so you don’t have excess material covering the top of your glass.
With prong setting, there is no right or wrong number of prongs that you should use. I’d recommend a minimum of 20 gauge wire for the prong thickness. Go with thicker wire as the stone gets larger. Make sure that you have enough prongs to securely set the stone, usually a minimum of 3. You can absolutely use more than you need as a design choice! Or try designing with double prongs, have fun with it! Prongs can really allow the sea glass or rock to stand out. We have many blogs and YouTube videos covering different setting techniques. Let Halstead be your resource as you practice new skills.
Keep working on your jewelry making skills to progress to the more advanced stone-on-stone designs. Stone-on-stone settings require drilling and stone setting techniques. You set a larger stone that contains and inset smaller stone of a contrasting color. The effect is striking. You can see an example in the header image for this blog article.
By no means is this list exhaustive. It’s just a few ideas and techniques to get you started! The uniqueness of each piece of sea glass or rock really allows for you to be creative and have fun. No two sea glass jewelry pieces will ever be the same!!


