Have you been thinking about setting stones in your jewelry designs? Check out this starter guide to using gems in your jewelry making.
The art jewelry world is experiencing a surge in metalsmithing interest these days. As artists gain experience manipulating metals it is a natural progression to begin adding gemstones to jewelry pieces. However, stone setting involves a whole new set of skills and tools. It is easy to begin with baby steps to gain experience handling gems and mounting them securely. Here are some tips to get started on your own.
1. Start with cabochons
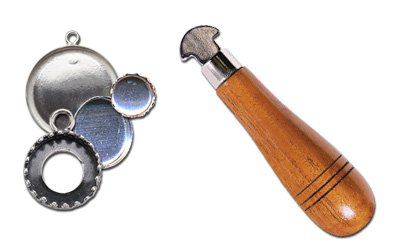
Cabs are easier to work with for new stone setters. They are also widely available in semi-precious stones that are inexpensive. Start with hard stones like jasper and quartz. Avoid stones that are prone to breaking such as sodalite. You can buy pre-made bezel cups for calibrated cab sizes. Finish any soldering and metal finishing on your jewelry first. Stone setting should be your last step. Bezels should come up over the edge of the stone so you have enough of a "lip" to hold the cab in the setting. Place the cab in the bezel cup and use a bezel roller or burnisher to bend the edge over the stone around the cab. Continue burnishing until the setting edge is smooth and evenly in place.
2. Try snap-in stone setting
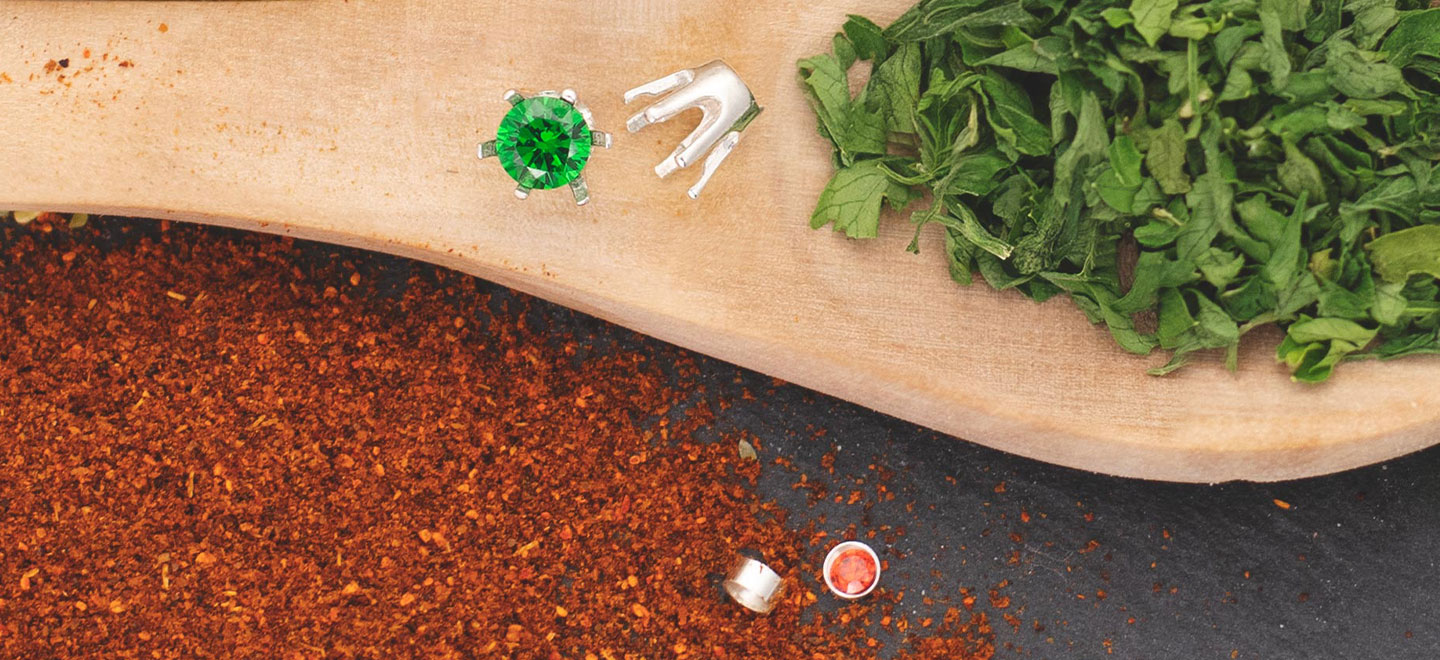
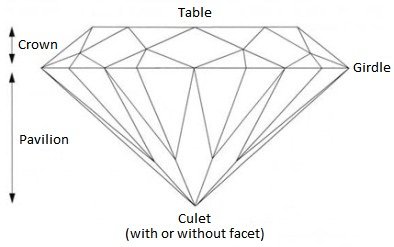
These settings work with calibrated facet cut gems. They are easy to use and appropriate for inexpensive, hard stones. CZs are great starter stones. To mount a snap-in, place your facet gem on a work surface with the crown side down (see graphic at the bottom of this post for the "anatomy" of a faceted stone). Place the snap-in setting over the gem and gently push it down until the stone "snaps" into place.
3. Construct custom bezels
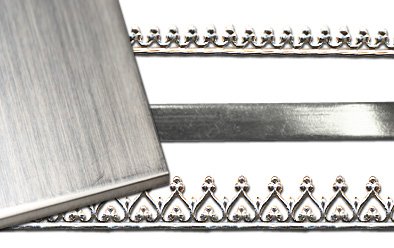
Once you have mastered a basic cab setting you can start making custom bezels by sawing out a backplate from sheet metal and soldering on a custom fit bezel or gallery wire. This allows you to use non-calibrated cabs and gives you more design latitude. Custom bezel construction involves many steps and should be fairly precise so it is worth reviewing online jewelry making videos or attending a class before attempting bezel construction in your own studio.
4. Move to prong settings
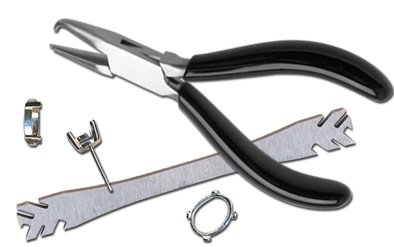
Prong setting will require special pliers to safely open and close prongs. Usually, magnification is required to successfully mount small stones. This technique requires patience and practice since it is critical that gems sit properly in the setting throughout the prong manipulation process. One little jostle and your stone will not be stable in the metal.
Our ring making kit is an excellent way to move into prong and tube settings. It has all the material you need to make about 5 rings with CZ settings.
5. Use advanced techniques like channel setting, tension mounting and pave
There are many ways to mount stones once you have mastered basic skills. Jewelry schools offer classes on the variety of techniques used at the bench to showcase precious gems.
You will quickly fall in love with glittering colored stones and the infinite possibilities for jewelry design. Remember that gems have varying properties so some are easier to work with than others. It is worth keeping a stone guide book in your studio so you know which gems are more prone to chipping and cleavage. Also, be careful with studio chemicals since they can damage some stones. Starting with stones does not have to be expensive. There are many economy options available and gem shows and online. Best of luck and enjoy learning new skills in your studio!
Additional Resources:
Glossary of Facet Gem Terms((c) Copyright 2011 Diamond-Buying.info) This resource is for diamonds but many terms apply to colored stones as well.
Shop for quality jewelry findings at Halstead. If you are learning stone setting, you will also be interested in these other Halstead articles and videos on our YouTube channel..
Got questions? Email our studio coordinator Sylvie Alusitz at [email protected]. We'd love to hear from you. Sorry, studio support is not available by phone. Emails only, please.


